Custom presets – unlike Premade presets Custom presets are presets created by you, its saved styles of the widgets which can be used everywhere where you use Elementor and WunderWp with a registered account. you can create as many styles of the widget as much you want.

The main feature of Custom preset is that when you create and save your style of widget it becomes immediately available for all your sites, what does it mean for me? let’s say you created uniques style of the button on your blog website and you want the same style (or slightly different) on your other site(s), you can replicate just in seconds, guess how many times you can save just with this? 🙂

Where can I find my Custom Presets?

Custom presets are located in the widget setting panel, in the presets tab.

How can I make a new Preset?

Creating Custom presets – is possible in just 3 simple steps, let’s take a look:

1 – Drag and drop the widget on the page and change the style of the widget, font size, color, margin, padding, etc.

2 – In the Presets tab click on the Custom tab, enter the name of your style and click New Preset

3 – Lastly, use Sync button to synchronize your presets to the WunderWp cloud

What does Sync mean? – Every time you click on Sync 2 things will happen:

  1. All your created Custom presets will be uploaded and saved in WunderWp cloud
  2. All your saved Custom presets in WunderWp cloud will be downloaded to your current size

Watch this 1-minute video:

Using the Custom Presets

Added Custom presets can be used like Premade presets, once you create them they will be available in the Presets > Custom tab:

1 – Drag and drop Elementor widget on the page

2 – From the Content panel choose Presets and then Custom, there you will see all your Custom presets

3 – Click on the style you want to apply and enjoy with the result


Here we go:

Removing Custom Presets

Custom presets can be removed by the Delete button, it sits before the Apply button. Please note, if you want to delete custom presets completely from the WunderWP cloud don’t forget to use the Sync button to synchronize your changes:

Note: After applying preset if you don’t see the expected result then it’s possibiliy due to the settings that are database dependent. 

e.g. if you apply preset in Elementor > Image Gallery elmement you have to manually remove and add the images or in case of Raven -> Categories element you have to change source & specific categories settings. 

It means that for the elements that have some options dependent on your current content, you may need to reset the settings such as categories and entryes after using your current presets. 

Frequently Asked Questions

Your Custom presets data are stored safely in our cloud infrastructure (We use AWS as a cloud partner)

Presets created by you is available only for you and no one can see it

No, at the moment there is no sharing option on the custom presets. However you can still export the preset as an elementor Template and share the file with someone else and then he can use and save the preset on his account. 

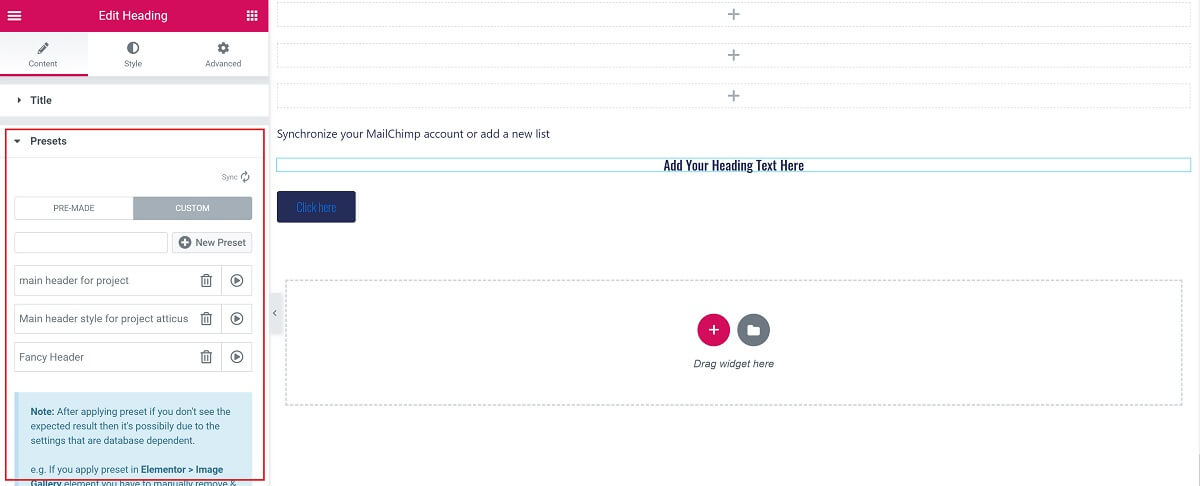
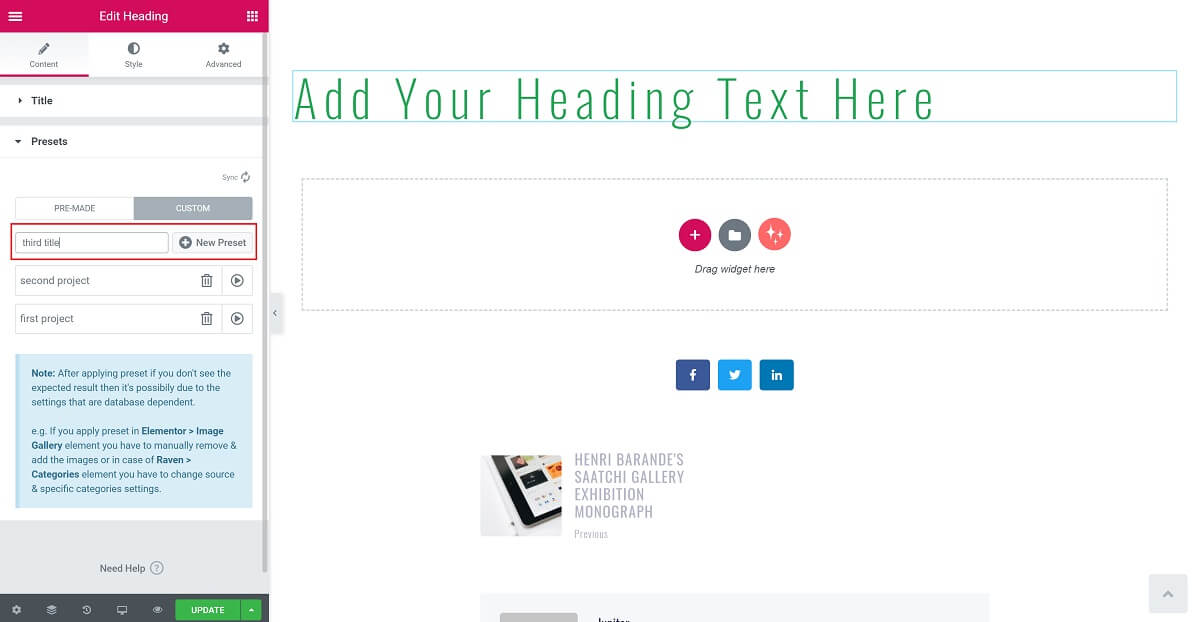
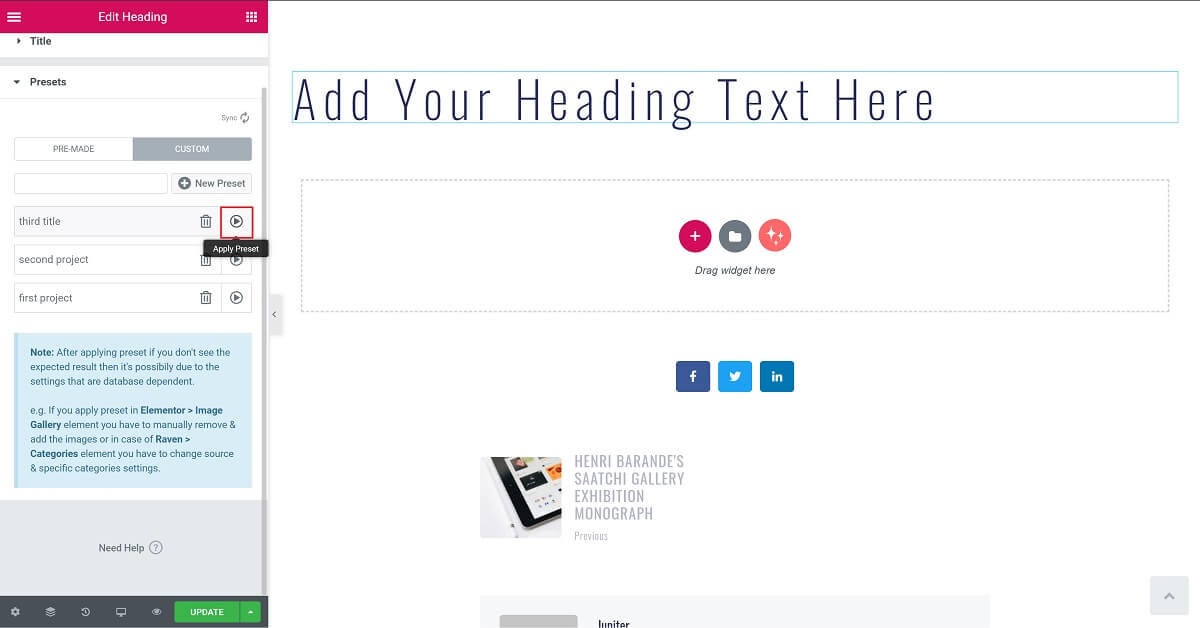
Custom presets can be removed by the Delete button before the Apply button

The category option will be added to WunderWP soon.